Sciatic nerve pain comes from a tenderness of pain along the sciatic nerve. It will usually show up on one side of the body, although there are sciatic nerves running down each each leg. They are connected at their core to several nerve roots that come from the spinal cord. The sciatic nerve runs between layers of your glutes and the deep muscles of the back of the thigh, down the outside edge of your leg and down to your feet.
What Is The Sciatic Nerve?
As the largest nerve in the body, when it becomes agitated, you’ll experience the symptoms in many ways. Nerve pain, weakness, and tingling can be felt in the buttocks, back of the thigh, and into the toes. In over 70% of the cases of sciatic nerve pain, it’s the tightness of muscles that causes pain, also known as the piriformis.
Yoga is an ancient practice combining poses and movements which nurture the body. Some of these poses offer sciatic nerve pain relief. Yoga also has the ability to help you manage the pain through various poses that invoke positive energy.
Why Yoga Helps Ease Sciatic Nerve Pain
If your sciatic nerve pain is due to piriformis, there are gentle yoga poses that offer sciatic nerve pain relief. They can align, lengthen, and strengthen the back. Yoga is capable of managing and reducing problems that are caused by herniation, often reducing it. Gentle poses that include basic asanas include the half spinal twist and downward-facing dog. These poses align your spine as well as lengthen and strengthen the back. Be gentle with these poses, working on them progressively for a few minutes every day.
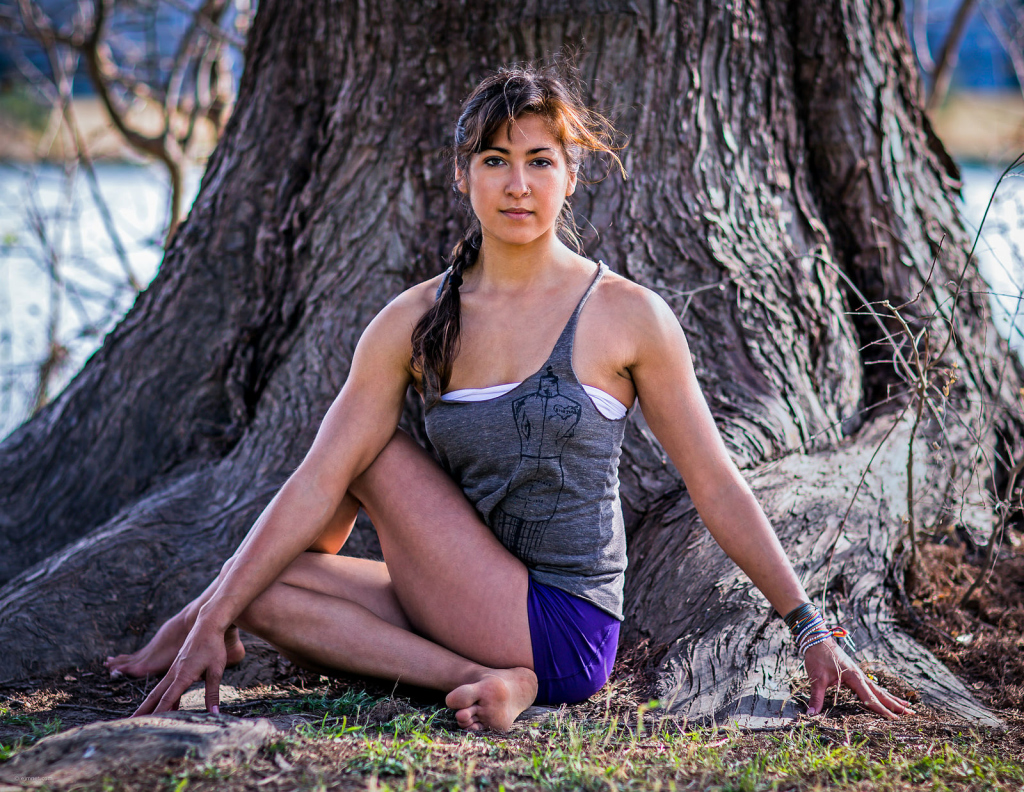
Ardha Matsyendrasana (Half Spinal Twist)
This yoga pose will give the piriformis a mild stretch, encouraging the muscles to lengthen.
- Sit on the floor with your knees bent and your feet flat in front of you.
- Take your right foot, put it under your left knee and around to your outer left hip. The right knee should be pointing forward.
- If your left sit bone is lighter on the floor than your right, lean into the left sit bone. This will be the stretch you’re looking for.
- Hold your left knee with both hands. Hold the pose and breathe in deeply while lengthening your spine. Breathe out and relax the spine.
- Repeat the exercise on the other side. Try doing this three times daily on each side, holding the pose for 20 seconds at a time.
Adho Mukha Svanasana (Downward-Facing Dog)
This pose does many things for the body and the mind, including a deep stretch for the hamstrings and lower back. Any pose that incorporates a good hip stretch is going to help with sciatic nerve pain relief. Tight hamstrings are connected with a tight piriformis, which further constricts the sciatic nerve.
- Get on your hands and knees on the floor.
- Put your knees below your hips with your hands a little bit forward of your shoulders.
- Spread your palms with index fingers turned out a little and turn your toes under.
- As you exhale, lift your knees from the floor. Keep them slightly bent with heels lifted off the floor.
- Focus on moving your tailbone away from your pelvis, pressing it lightly toward the pubis.
- Lift your sitting bones up toward the ceiling.
- When you exhale, push the top of your thighs back, stretching your heels down on to the floor. Make sure not to lock your knees.
- Press the base of your index fingers into the floor. Feel yourself lifting along the inner arms to the shoulders. Firm your shoulder blades and widen them. Make sure not to let your head hang, instead keep it between your upper arms.
Raja kapotasana (King Pigeon Pose)
Sciatic nerve pain can be reduced with yoga poses that “passively” stretch your hips. You want to use poses that create an external rotation of the thigh. The King Pigeon Pose is known as the king of hip openers and is the strongest of all the piriformis stretches. As it’s a deep stretch, when you try it for the first time, stay on the edge of the stretch and breathe. This is going to allow the piriformis to release.
- Begin on your hands and knees, bring your right knee forward and out to the right.
- Bring your right foot forward also until the heel is aligned with your left hip. Your shin should be at a 45-degree angle. In order to protect your knee, keep your foot flexed.
- In order to stretch the right piriformis, lean your upper body forward, tuck the toes under and walk the left leg until it’s straight back. This will allow your right thigh to rotate out passively. The hip will naturally descend to the floor.
- Make sure your hips are level to the floor and square to your mat. If your hip doesn’t reach the floor, use a blanket.
- Do this pose on the other side. Hold the poses for a few minutes, using your breath to go deeper into the pose.
Featured photo credit: Earl McGehee/Flickr via flickr.com
The post Effective Yoga Stretches For Sciatic Nerve Pain Relief appeared first on Lifehack.
Source: Lifestyle


